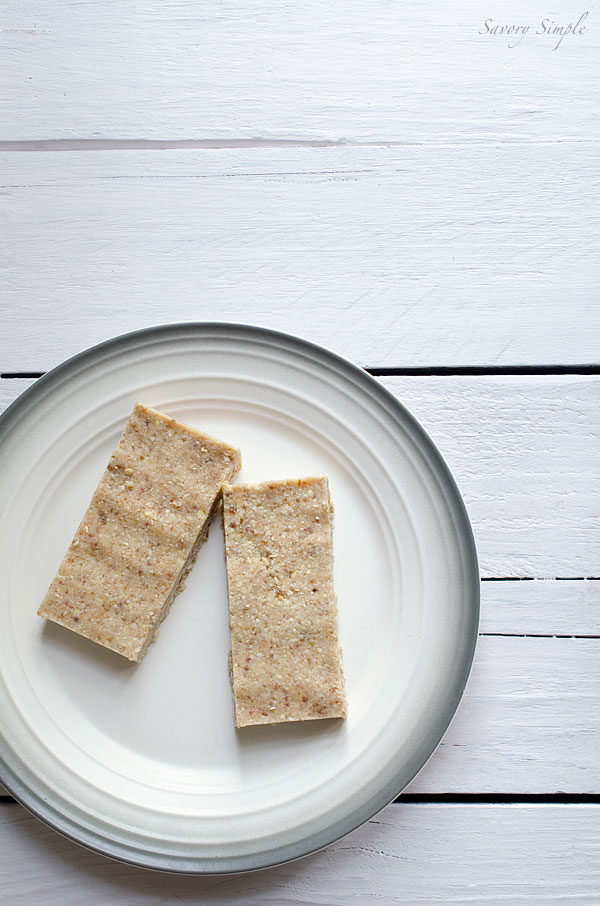
No-Bake Pineapple Coconut Bars
I’ve only recently become smitten with the combination of pineapple and coconut. Previously, I only associated it with piña coladas, a drink that has never done anything for me. But then a few months ago I dined at a DC restaurant and was intrigued by a dessert on the menu- a coconut pineapple panna cotta with rum gel and espuma colada (a piña colada foam). Some trendy ingredients, but I didn’t care. It was heaven on a plate.
No-Bake Pineapple Coconut Bars (Gluten-Free, Paleo, Vegan)
Prep time
Total time
Author: Jennifer Farley
Serves: 8 bars
Ingredients
- ⅔ cups unsweetened shredded coconut
- 2 cups unsalted cashews
- 1 cup freeze-dried pineapple
- 1 cup medjool dates, pitted
- ⅛ teaspoon sea salt
- ¼ cup plus 2 tablespoons coconut butter
- 3 tablespoons coconut oil
Instructions
- Preheat the oven to 350° F.
- Spread the coconut evenly across a baking sheet and toast in the oven for 3 minutes. Stir well and then cook for another 2 minutes, or until golden and fragrant.
- Set the toasted coconut aside and use the same baking sheet to toast the cashews for an additional 5 minutes, or until fragrant.
- Add the coconut, cashews, dried pineapple, dates, and salt into a food processor.
- Pulse the ingredients until they’re crumb-sized (a few larger pieces are fine).
- Add the coconut butter and ½ tablespoon coconut oil to the food processor and continue pulsing until the mixture begins to clump. If it seems dry, add another ½ tablespoon of coconut oil.
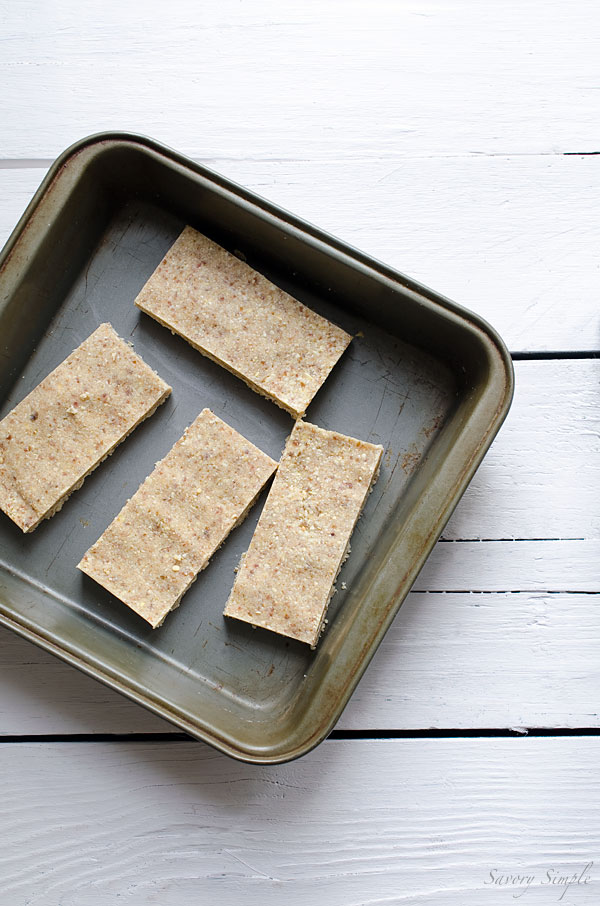
- Line an 8 x 8-inch brownie pan with parchment paper, allowing two sides to hang over the side of the pan. Dab a bit of coconut oil on the brownie pan to help the parchment stick to the two longer sides. Press the mixture into the pan, using a piece of plastic wrap to help flatten the mixture evenly. Freeze the mixture for 15 to 20 minutes and then slice the bars into 8 pieces.
- Wrap the bars individually and store in the refrigerator or freezer. (I like them frozen!)


Comments
Post a Comment