5 Techniques For Natural At-Home Exfoliation
5 Techniques For Natural At-Home Exfoliation
Ever wonder why you can plaster on rich,
greasy moisturizers and your skin still feels dry moments later? What
about how often you clean with really strong skin cleansers and your
skin still feels dirty?
Don’t fret; you're not going crazy! All of this happens because on a daily basis, our entire body sheds about one layer of dead skin. But not all the dead skin falls to the ground. In fact, most of it stays stuck to our skin's surface.
Since
we can't unzip that daily layer of dead skin and just throw it in the
bin, it adheres to the surface and builds up every day. Week after week,
month after month, we end up with dead skin cells filling our pores and
layers of dead skin blocking our hairs and oils from naturally rising
to the skin's surface.
By reducing the skin's
surface gently but thoroughly, you can reduce the visibility of pores,
lines and wrinkles. Just remember, cleansing does not exfoliate and
exfoliating does not cleanse. In order to perform both thoroughly, you
should perform both separately.
Here are the best natural ways to exfoliate from home without breaking your wallet or using harsh chemicals.
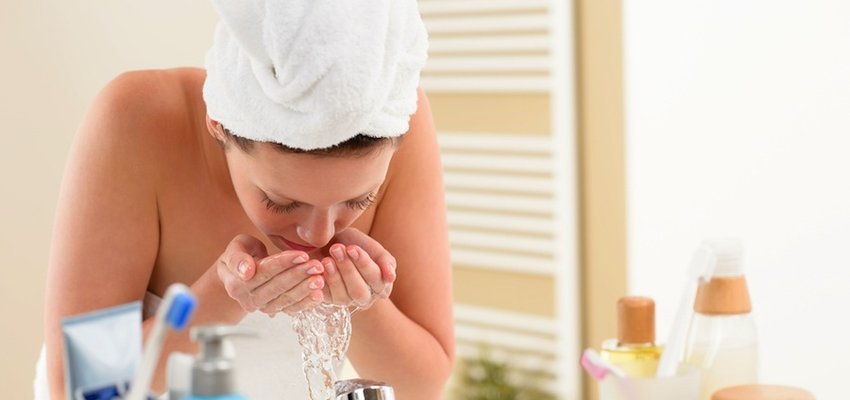
For
face: Each step of exfoliating the face should be performed after
thoroughly cleansing and rinsing with lukewarm water. The proper
hydrator or moisturizer for your skin type should be applied immediately
following these treatments.
1. Towel dry.
Gently rub your skin dry with a clean, dry towel, post shower. This
creates light friction, which will remove superficial layers of dead
skin.
2. Baking soda. Use ½ tablesoon of
baking soda mixed with ½ tablespoon of a gentle cleanser, applying
medium to light pressure and circular rotations for 1-2 minutes.
Dryer skin types can mix ½ raw coconut oil with ½ baking soda and use 1-2 times per week.
Oilier skins can use baking powder and leave on for 10-15 minutes for further oil absorption.
For body: Avoid neck, breasts.
3.
Sugar scrub cleanse. Rinse the skin first to remove dirt and oils. Then
mix ½ part sugar with ½ part oil of your choice (I’m a fiend for raw coconut oil,
but olive oil and jojoba oil are good choices as well). Apply with a
cloth to protect the skin on your hands from becoming irritated. Using
mild pressure, and circular motions; don't spend more than 1 minute per
limb.
4. Loofah with salt and oil. For more
stubborn areas like the knees and elbows, follow the same instructions
as the sugar treatment only supplement the washcloth with the loofah and
the sugar with the salt.
5. Dry brush. Using a
dry, natural bristle brush on dry skin, start at your feet and gently
glide the brush bristles against your skin, using upward strokes toward
your heart. This should only take about 3-4 minutes for your entire
body. Skin should be cleansed and then moisturized directly after this
treatment.
Always avoid exfoliation in areas
in which you have skin lesions, visible capallaries or existing
irritations. Always conusult a licensed skincare therapist before
beginning a new skincare regimen.


Comments
Post a Comment