DIY Unpaper Towels
DIY Unpaper Towels (Without A Sewing Machine)
^^^^^^^^^^^^
Go Check Her Blog Out!!!
Confession: I Have A Stack Of Paper Plates . . .
Sitting in my pantry, because as a soon-to-be-mama of three I have no illusions about how far my super powers go. Sometimes victory looks like scrambled eggs for dinner, you know? Ain’t nobody got time to do a load of dishes just to have something to serve them on!Ahem.
Most days, though, I try to make more eco-friendly choices: cloth diapering, composting, local food, using real dishes, and avoiding paper towels where possible. On that last one, my strategy until recently was to use old rags and tea towels while keeping out the real deal for guests. Truth be told, though, I missed the convenience of tearing a towel straight off the holder, so when I came across the unpaper towel concept I knew I had to try it!
Problem Is . . .
I don’t have a sewing machine. And unless you count homemade beauty products, my crafty score is 0. Fortunately, with a little help from Youtube I was able to straight stitch my way to unpaper bliss. (What, you DIDN’T learn how to sew on Youtube? Pshaw)How To Make Unpaper Towels
Supplies/Equipment:- 2 yards terry cloth/flannel (Note: Though the terry cloth pictured is light in color, I’m making some with chocolate terry for messes that are likely to stain)
- 2 yards cotton fabric of your choice
- sharp scissors
- needle
- thread (preferably something that matches your fabric)
- ruler or 12×12 stencil (I used a square book)
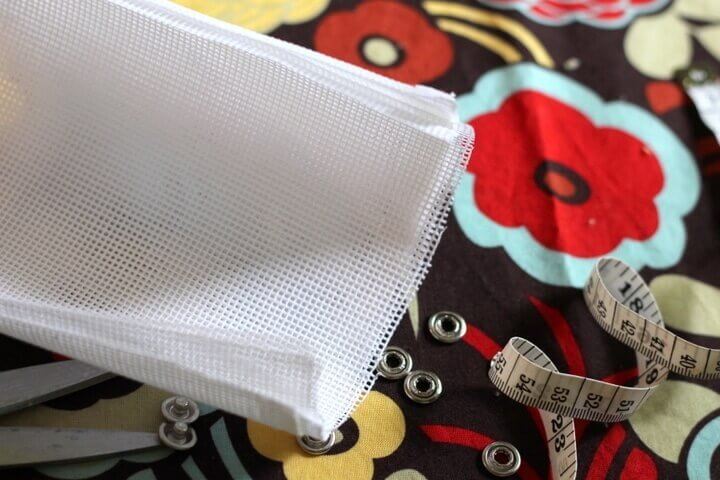
- 57-63 snaps (you might want a few extra to practice with)
- snap applicator (I used Babyville pliers, but the KAM applicator looks really good, too. Make sure you get one that is compatible with your snaps)
- plastic canvas (2-4 sheets of 12×6 sections)
- embroidery thread (optional)
- superglue (optional)
Step 1: Wash & Dry Both Fabrics
That way if one or both of them shrinks it happens before you sew the pieces together!Step 2: Cut Cloth Into 12×12 Inch Pieces
I found it helpful to use a stencil and trace on the back of the fabric before cutting. On or our old vacation photobook was just the right size – scrapbook paper is usually 12×12 too!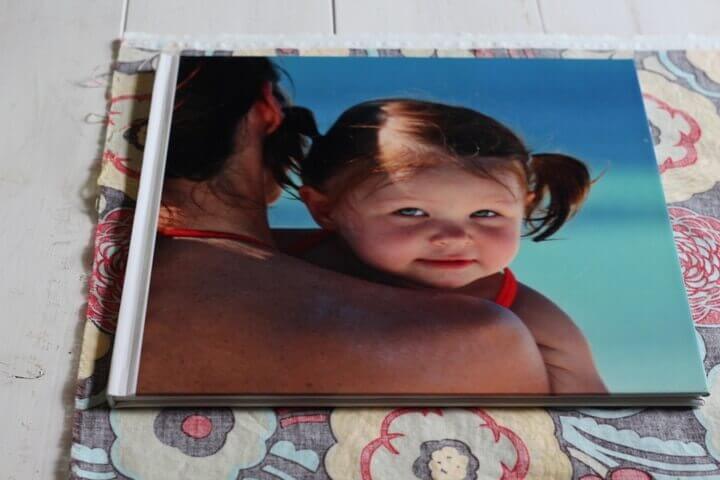
Note: You can adjust the size as needed, but keep in mind that the unpaper towels will be slightly smaller than the size you begin with.
Step 3: Sew A Straight Stitch
Lay the pieces together so that the fabric you want displayed is face down against the terry cloth/flannel and sew a straight stitch about 1/8- 1/4 inches away from the edge. Leave a 2-3 inch gap on one side so you can turn your towel inside out. Don’t know how to sew a straight stitch? It’s really, really easy, just watch the tutorial below and you’re on your way.Here’s how the last corner should look when you’re done.
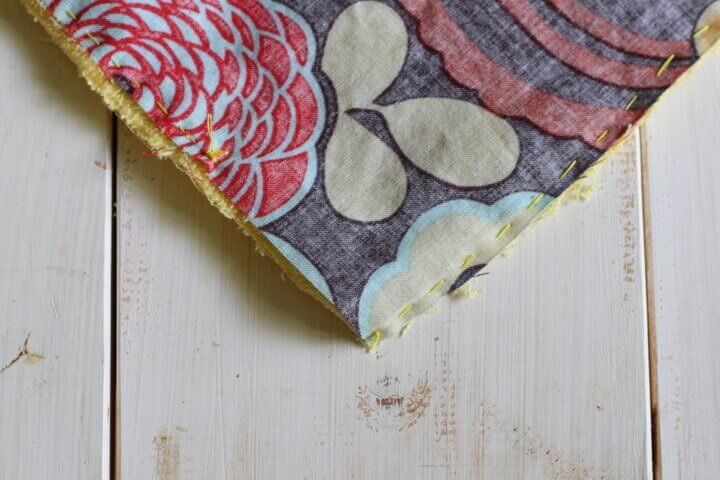

Optional Step: If you don’t feel quite confident that your stitches are super sturdy, you can apply a little liquid stitch around the seam. It’s not the “greenest” thing in the world, but I consider it a good tradeoff considering all the paper towels you’ll be saving.
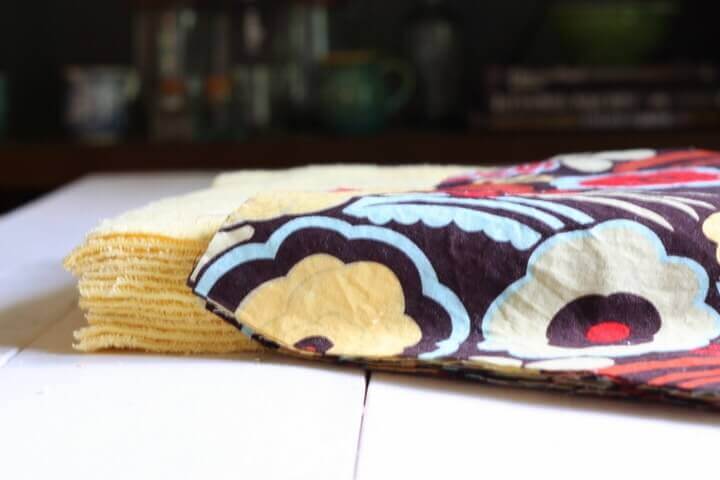
Step 4: Turn Unpaper Towel Inside-Out
Trim any excess fabric that may create unwanted bulk, then pull your fabric through the gap you left so that the decorative part of the cloth is now facing out. Close up the remaining hole with a straight stitch.If you would like, you can add a second later of stitching for decorative effect and to reinforce the edges. I chose not to, but this blanket stitch might be pretty with some embroidery thread.
Optional Step: Iron your towels so they will be nice and flat.
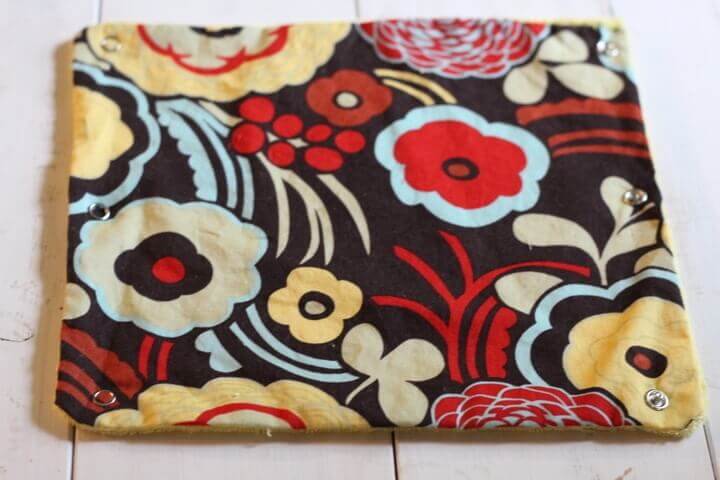
Step 6: Apply Snaps
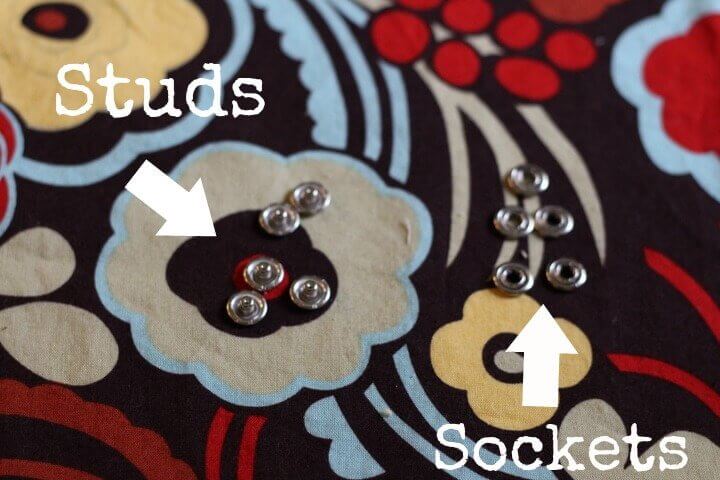
Because it was cheaper, I started out using this snap applicator, but found that the unpaper towels were too thick for it to work properly. I ended up going with one like this. Though it was a bit tricky because my snaps were for a different applicator it was much easier to use! Here’s what you do:Each unpaper towel will need 2-3 sockets on the right and 2-3 studs on the left so that each towel can attach to it’s neighbor. I chose to use three on each side.
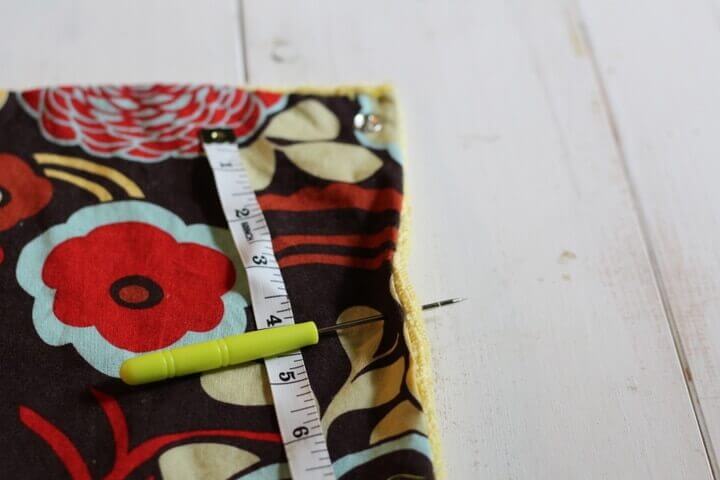
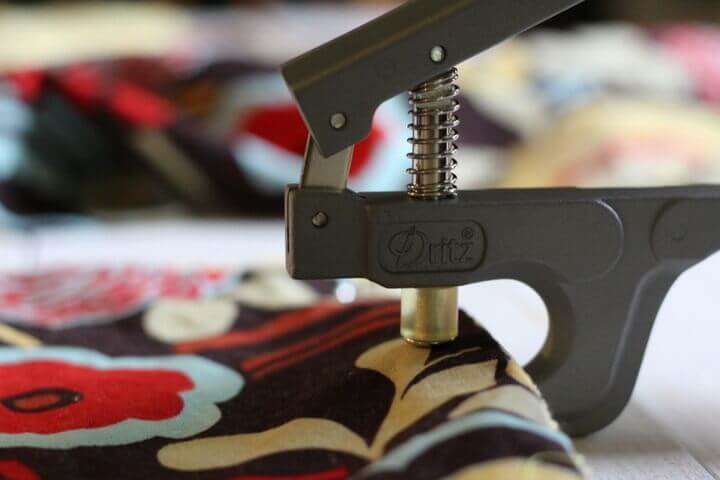
You want the holes evenly distributed, so measure where you want them to go and then poke a little hole with the awl (pointy thingy that came with your pliers) to mark your spot. Place the cap through the hole and – using the instructions that come with your pliers – secure the snaps in place. If you have the Babyville pliers you may find this video tutorial helpful.
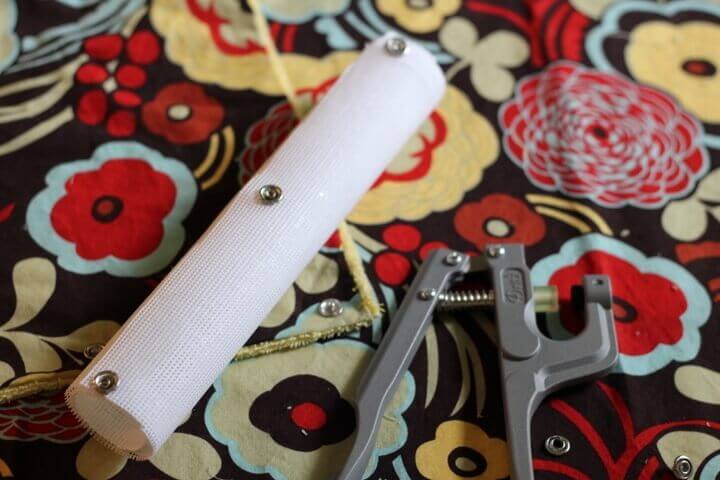
Step 7: Create Paper Towel Dowel
Now onto the last step: creating a sturdier version of the cardboard tube that holds paper towels in place. Some tutorials use PVC pipe, but when I went to my local hardware store to buy some I realized I had to buy an 8 foot pole and ask them to trim it into a 12 inch section for me. The rest would be thrown away, so I decided to try to find a less wasteful option and came across this tutorial, which uses plastic canvas.Not only is this method easier, it saves you a trip! You can pick up plastic canvas at the fabric store while you’re picking out your fabrics. Here’s what to do:
Measure the height of your unpaper towels. Using that number, cut a section of plastic canvas that is (your unpaper towel height) x 6 inches. Mine was about 11.5×6.
There are several ways to attach the canvas so that it becomes a tube. There is this tutorial, which I planned to use until I realized that the snaps wouldn’t go through 4 sheets of canvas. Because I wanted a pretty sturdy dowel, I attached three studs to the outside sheet for the unpaper towels to connect to and then superglued the canvas together
Now just put your unpaper towels on the dowel and you’r done!


Comments
Post a Comment