DIY-Healing Salve Better than Neosporin
Not Your Mother’s Neosporin: Healing Salve for Minor Scrapes and Burns
I’m on the outs with biscuits right now.Biscuits are the reason I am burned. Biscuits are the cause of all of my corporeal suffering in these last few days. But, dang, were they good.
I was going to take a picture and show you guys the giant burn on my inner forarm from delivering biscuit babies from the hot, hot oven. But I didn’t. Even though I know you’re just dying to see a 6-inch, red, peeling burn … I’m sorry. I trust your disappointment will be allayed when I show you how to make this lovely, softening healing salve for minor scrapes and burns.
I called it “Not Your Mother’s Neosporin” up there, but the truth is, it’s not anyone’s Neosporin. It has zero common ingredients – especially none of the ones that lead to Neosporin causing skin irritation.
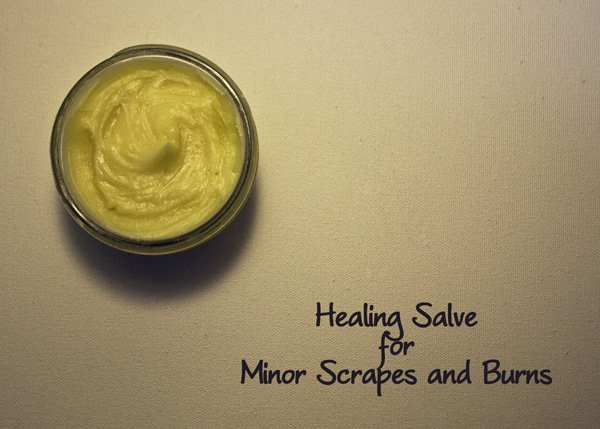
But you can use it in much the same way. (Although I wouldn’t use it on a deep puncture wound, as it may cause the skin to heal over the top of an infection. And, of course, if you have a bad cut or burn, you should seek medical attention immediately. You know this stuff.)
While there are tons of options you can use in a healing salve, I’m going to give you the specific recipe I used (to make it easier, and because I’m madly in love with it). It uses coconut oil, grapeseed oil, chamomile and calendula, beeswax, and honey.)
All great for your boo-boos, and your skin in general. In fact, if you wanted to use this simply as an exquisitely emollient lotion for your scruffy dry winter skin, you should!
Ready for the homemade healing salve recipe? Here you go.
Homemade Healing Salve for Minor Scrapes and Burns
There’s no hard and fast rule that says you have to use the same oils I used. Olive oil – alone – would work just fine. I chose coconut oil, though, because I found a study that showed coconut oil is an effective burn healing agent (and we know it’s antibacterial). And I went with grapeseed oil because the best healing balm I’ve ever used had a grapeseed oil base.Also? Check out my new beeswax beads. They look like snow.
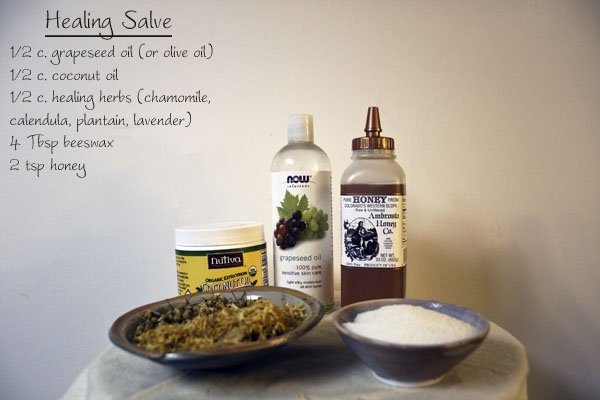
The first thing you want to do, after you’ve gathered all of your ingredients so you know you have ‘em, is sterilize – with boiling water for at least 5-10 minutes – everything you’ll be using. Pots, containers, etc.
Because you’re making something to be used on ouchies, definitely make sure you’re working with the cleanest tools possible.
Step 1: Infuse the Oils
You can take the long way around this, which might give you more of the herbs’ healing properties, and let the herbs infuse the oil for 2-3 weeks (stored in a jar, in a dark area, shaken daily).That method, though, likely won’t work with solid coconut oil. So, instead, you can use the faster way here.
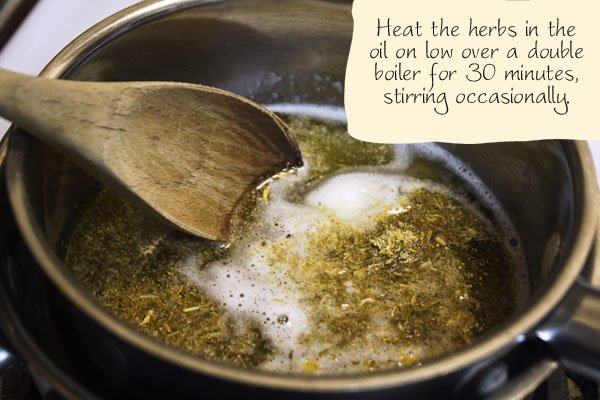
Heat and stir the 1 cup of oil and 1/2 c. herb choice (again, I used calendula and chamomile, but you can use plantain leaves, St. John’s Wort, lavender or comfrey) on a double boiler over low heat for about 30 minutes, stirring often.
This is a good opportunity to reorganize your spice cabinet. Or drink a glass of wine. Or both.
(No one judges here.)
After your oil has infused – and mine smelled like sunshiney chamomile – you’ll strain it.
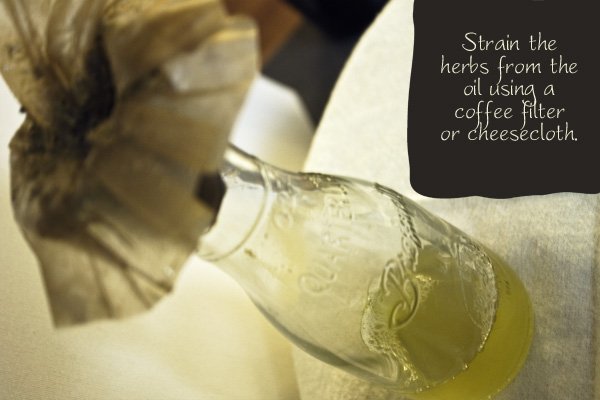
Again, make sure the vessel you’re straining it into is clean and sterile.
To strain, you can use a cheesecloth, but I pulsed my herbs a couple of times in a spice grinder, just to make them easier to infuse. So I strained with a coffee filter, my second favorite strainer love.
After you’ve strained your herbs, you’re ready for step 2 and almost ready to stop crying about your boo-boo.
Step 2: Assemble the Salve
After you’ve strained your herbs, you’ll want to go back and wipe out the pot you were heating your oils in. Mainly because you’ll still have herbs sticking to the sides and bottoms, and no one wants that. Not even the herbs.Once you have a clean pot again, pour your oil back in (still using the double boiler method) and heat again on low. Then comes the beeswax.
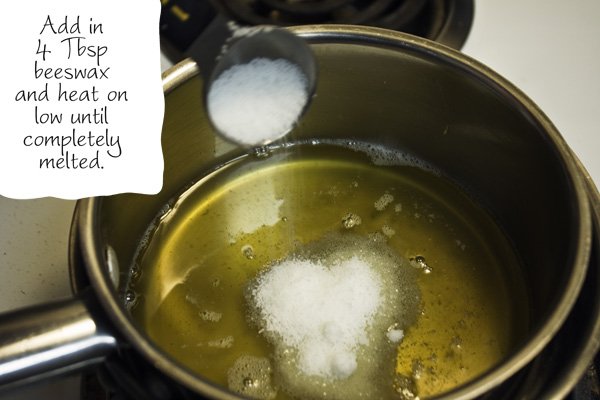
Just let that beeswax melt while you stir. Let it melt good, baby.
As soon as everything is melted and incorporated and a beautiful clearish yellow color, remove the pot from the heat and get ready to pour it into your chosen healing salve container.
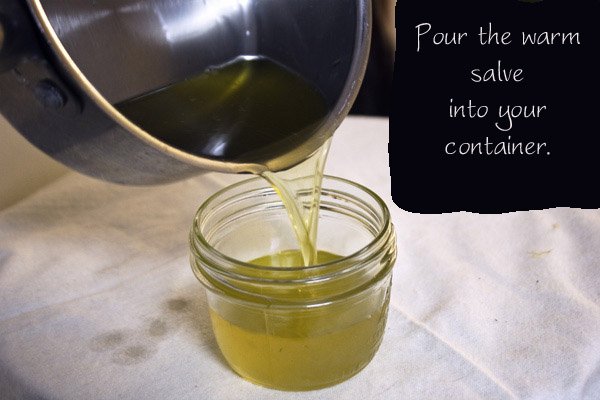
Now, you want to work quickly here, as the salve will start to set up within minutes.
At this point, you could add a few drops of lavender essential oil and stir it in well (I did this, actually, as an afterthought). Lavender essential oil is antibacterial, antimicrobial, and healing, but it also comes with one more benefit – it’s slightly analgesic. So not only will it help heal the wound, but it’ll offer you a small bit of pain relief.
I needed analgesia. My arm hurts. Ouchie-wawa.
Please tell me you say ouchie-wawa, too.
Also, before the salve sets up, you’ll add in your amazing, fantabulous, miraculous honey (raw and unfiltered only – and local if you can).
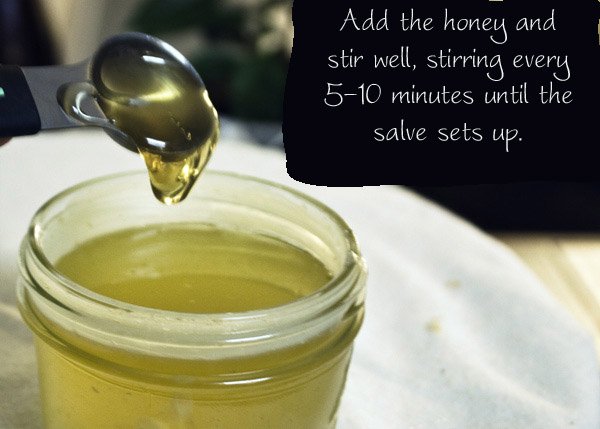
You do want to keep stirring this as the salve is setting up, or you might end up with a layer of honey at the bottom, and very little incorporated within your actual healing salve.
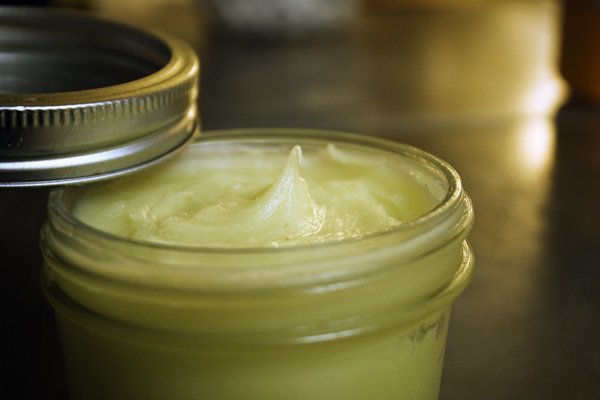
Also, for quicker set-up, you can pop the salve in the freezer (opening to stir every few minutes). If you do it that way, you’re looking at maybe 10 minutes tops for the salve to be nicely creamy.
And then you look at it. And it looks like this:
Here’s the entire recipe, printable form, iff’n you like your homemade salve recipes that way
Comments
Post a Comment